


Recently, I alluded to receiving media credentials to cover the Rogers Cup Men’s Tennis Tournament in Toronto. The Rogers Cup is not one of the elite grand slam tournaments but it has become an important event for players to attend as preparation for the upcoming US Open. The German magazine I represent has a circulation of well over 30,000 but the Rogers organization claimed they were inundated with media applications this year and had to decline mine. I got the impression that preference was being given to English speaking media so I said, how about letting me in for the first weekend of qualifying since many journalists won’t be appearing in Toronto until midweek when the quarter final match ups start. I’m an underdog and as such happy to cover the tennis underdogs who have to fight just to get a berth in the first round. They agreed .
Since I live in Toronto, I fantasized about bringing the Sigma 300-800 f/5.6 zoom lens to the game so I could look like a serious professional photographer. However, in order to convey that elusive sense of action in a static tennis shot, you need to also be able to see the ball. And with the m43 sensor being approximately one quarter the size of a full frame sensor, the field of view at 800mm would be like that of a portrait lens. Useful for capturing facial expressions during the match but not much else.
Some bullet points for your consideration.
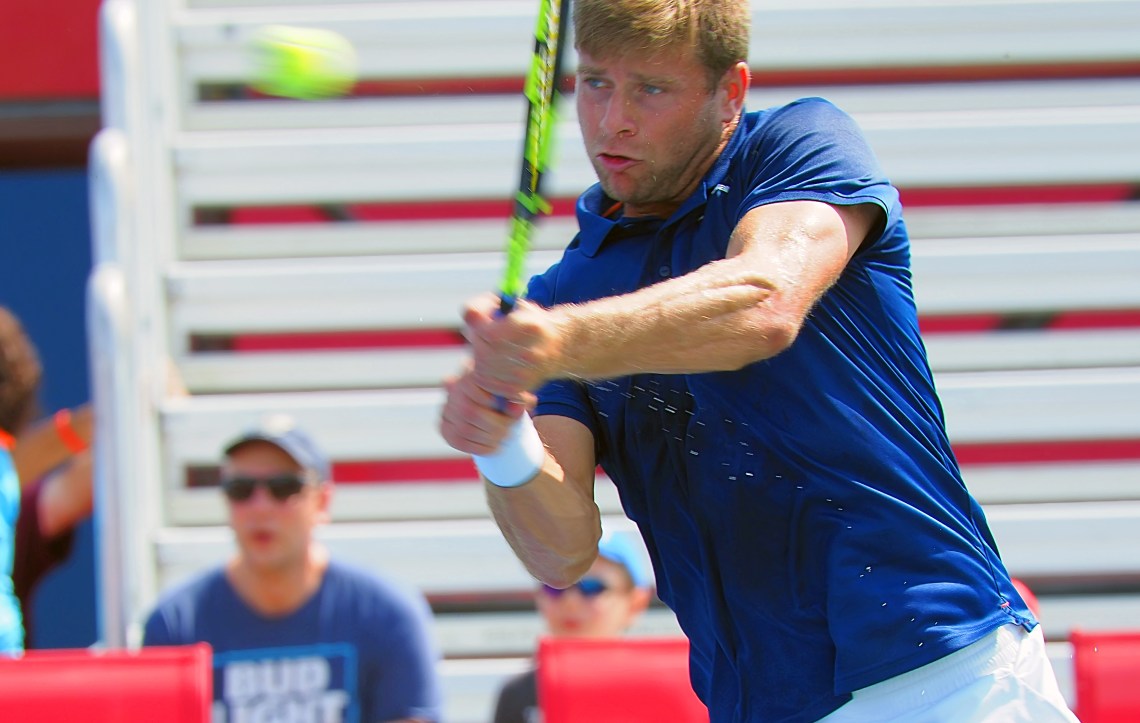
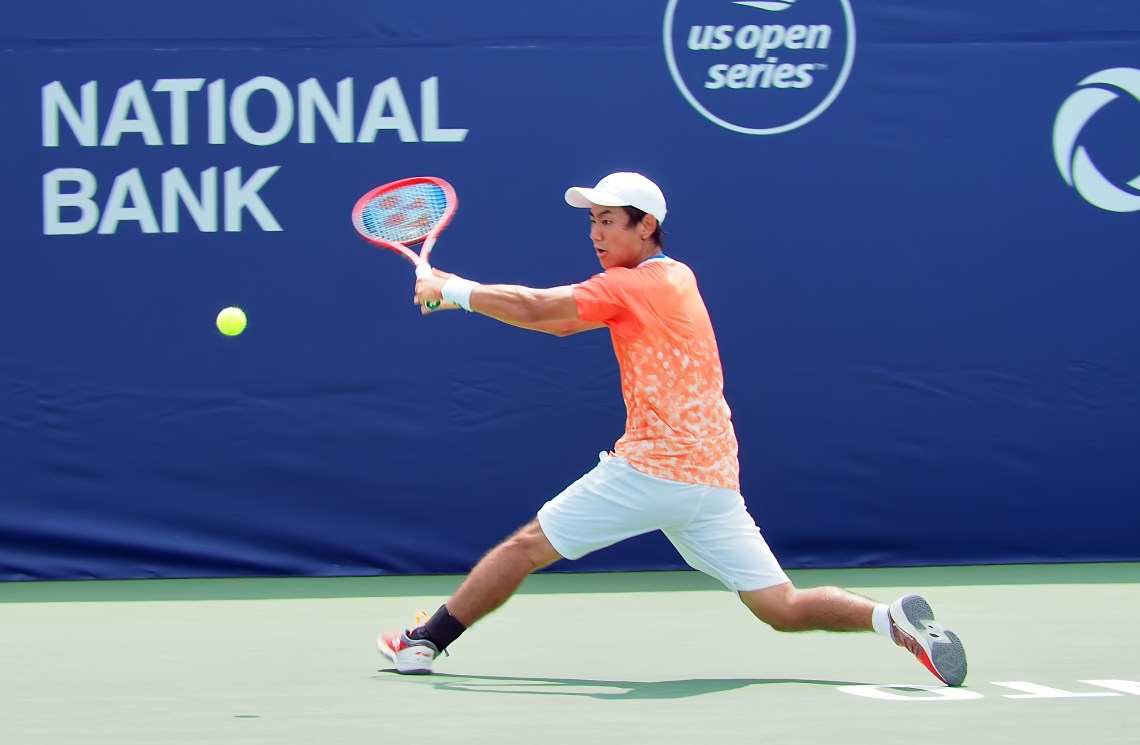
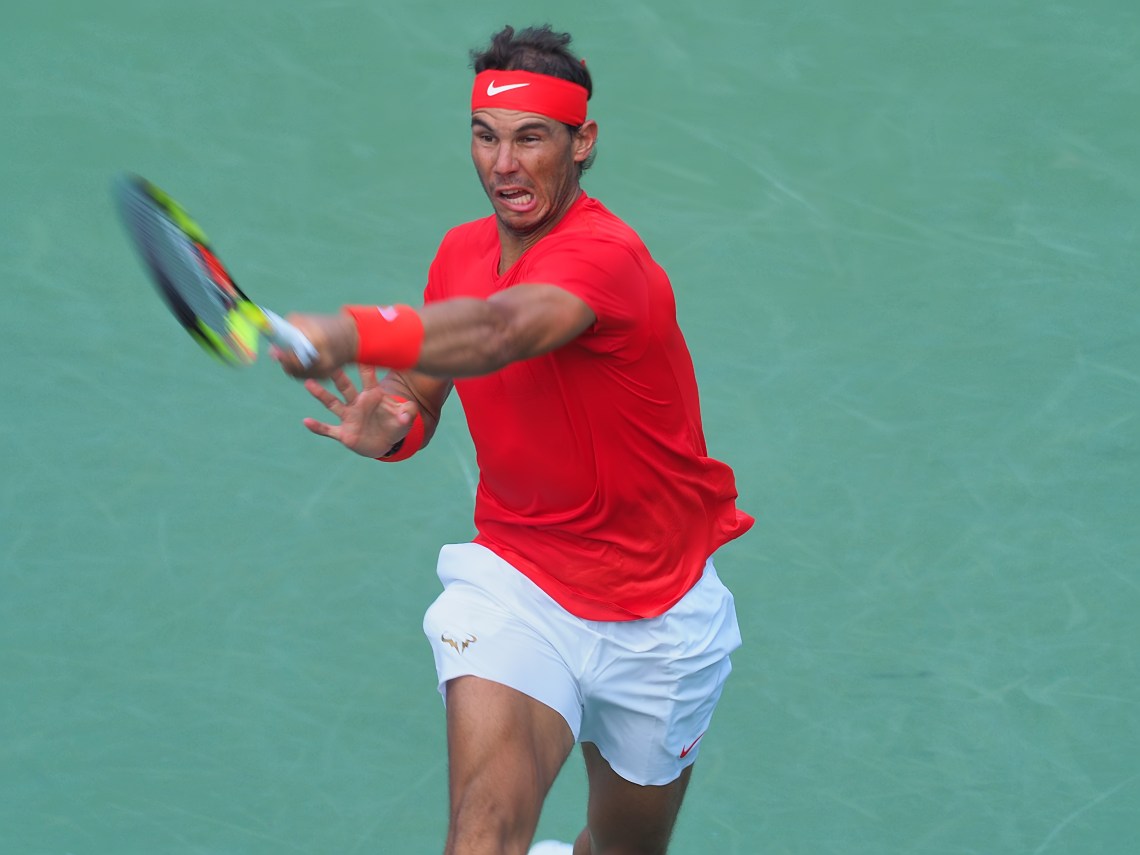
1. Shooting from the sidelines, typically at one end, places you very close to the player. And since the players rotate sides quite frequently during play, you don’t even have to move. The Zuiko 40-150 f/2.8 Pro with or without the 1.4x TC is the ideal lens for this focal distance. 150mm gives you enough room to frame most shots with the player and the ball. 200mm gives you a tighter crop where you may have to restrict shots to just the upper torso instead of full body but the higher magnification reveals more detail.
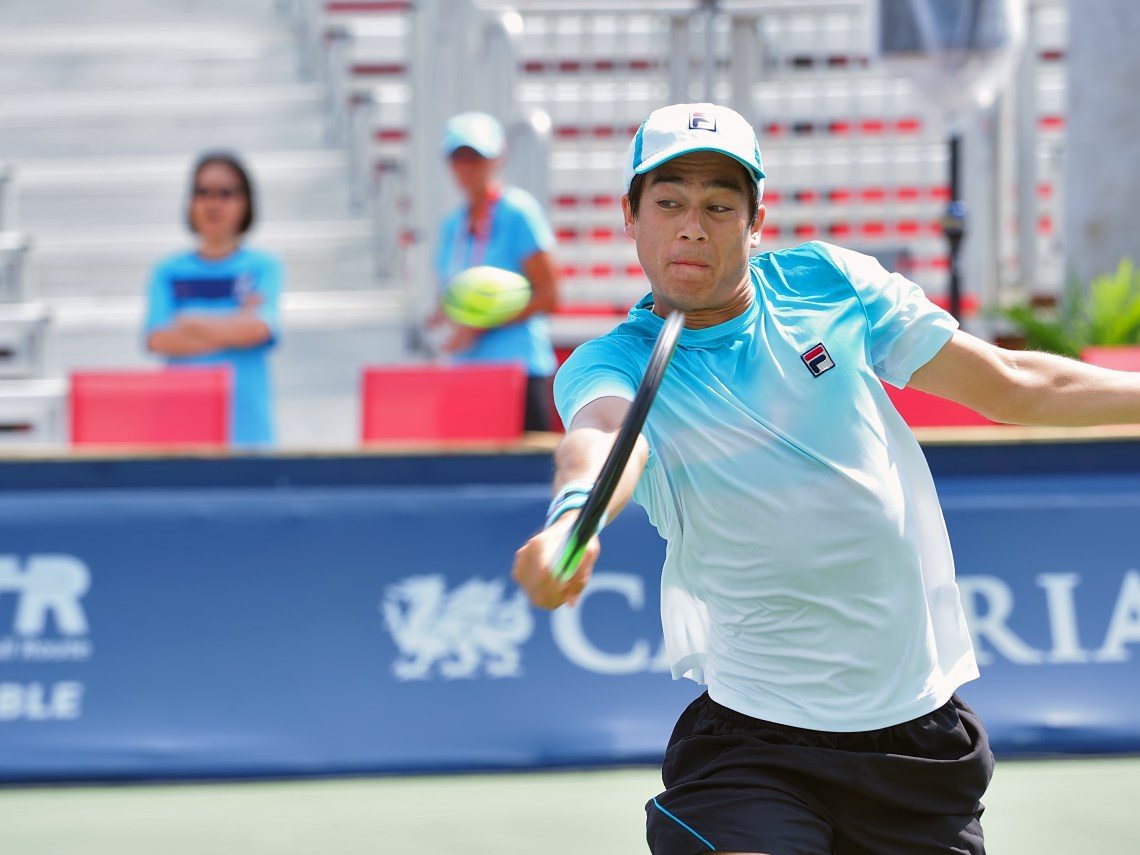
2. Drop the ISO to 200, f/4 – f/5 for peak sharpness, aperture speed between 1/500 – 1/1000 will allow some motion blur of the racket and the travelling blur of the ball while keeping the player’s face in sharp relief. Face recognition on. C-AF focus mode. Procapture L if you want nearly all your player’s faces to be in focus especially if they are moving fast, Procapture H if you want to maximize getting a shot of the ball in the frame but of course the focus is locked after the first shot.

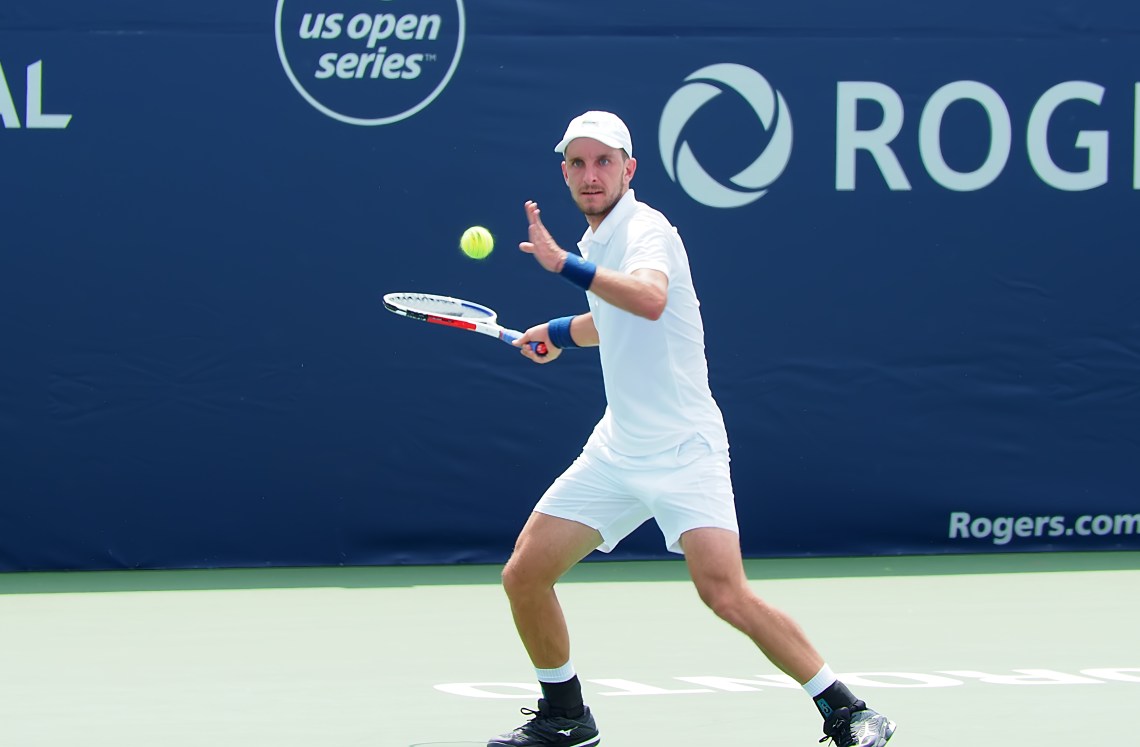
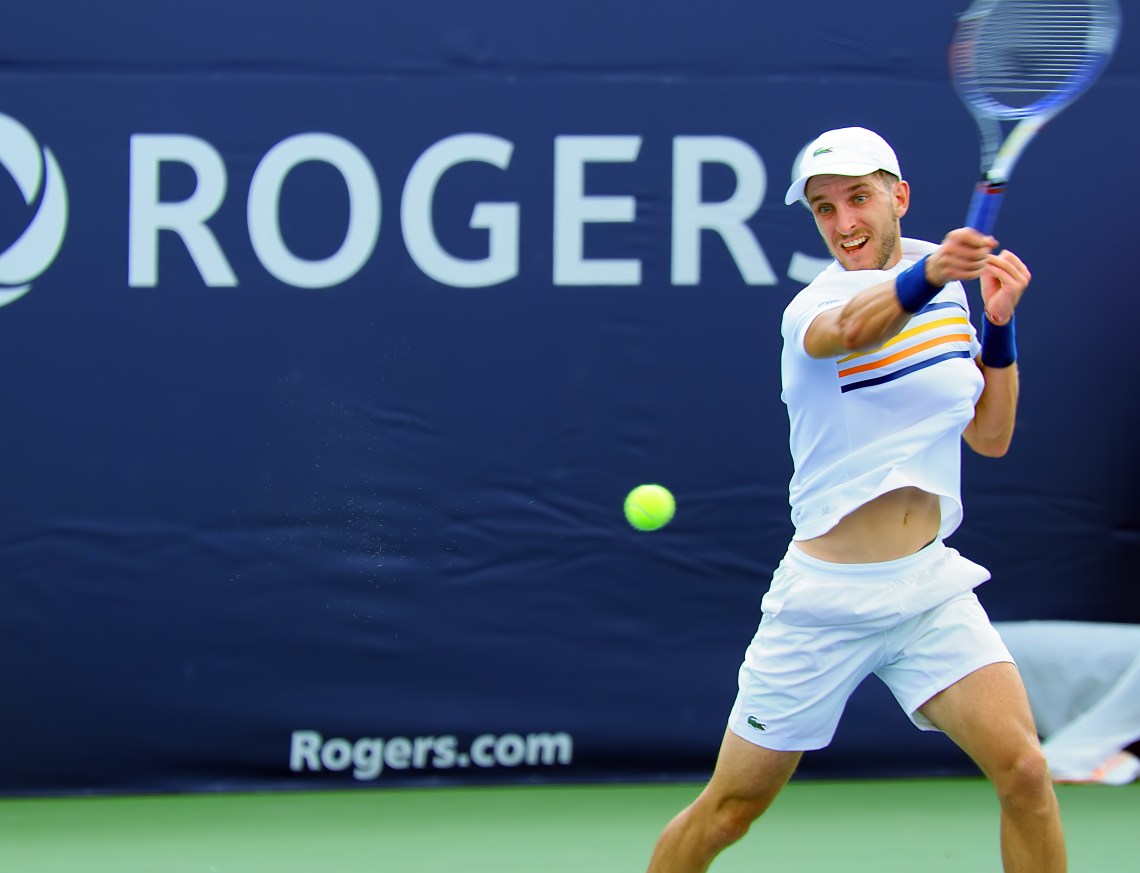
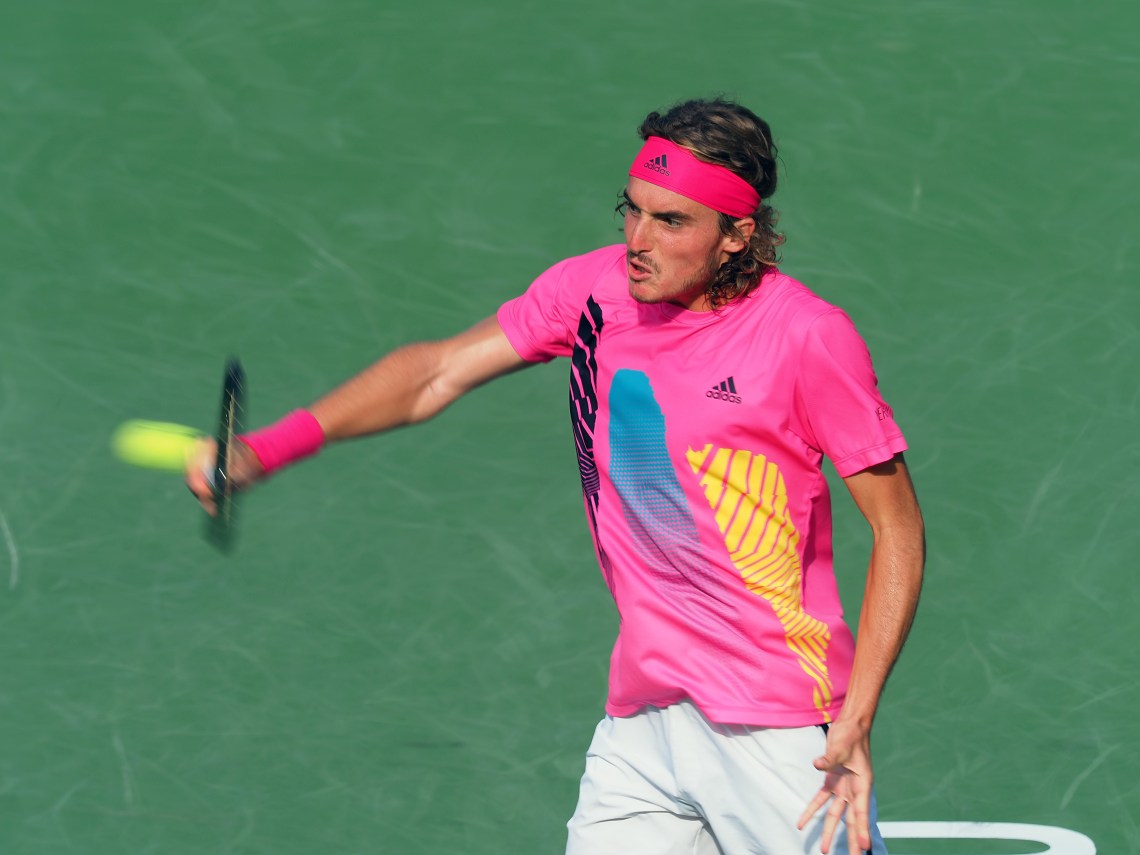
3. Once you get your fill of side profile shots, switch to shooting behind one end of the court to shoot full frontal views of the opposing player. Here shooting at 300mm gives you the optimum crop.
4. I could carry two lenses, the 40-150mm f/2.8 Pro and the 300mm f/4 Pro or just one lens, my Sigma 120-300mm f/2.8 and with a Metabones Speedbooster becomes the 85-212mm f/2. The problem is that this lens is heavvvy. It became seriously tiring to lift and hold this lens. Adapted lenses work well but do not focus as quickly as native m43 lenses. C-AF doesn’t work well with adapted lens, the focus response is too slow and frame rates drop to a ridiculous 1-2 frames per second. So for adapted lenses I generally listen for the ball being hit by the opposing player while tracking the target player in the EVF, S-AF focus lock and shoot at High frames just in time to see the ball arriving.
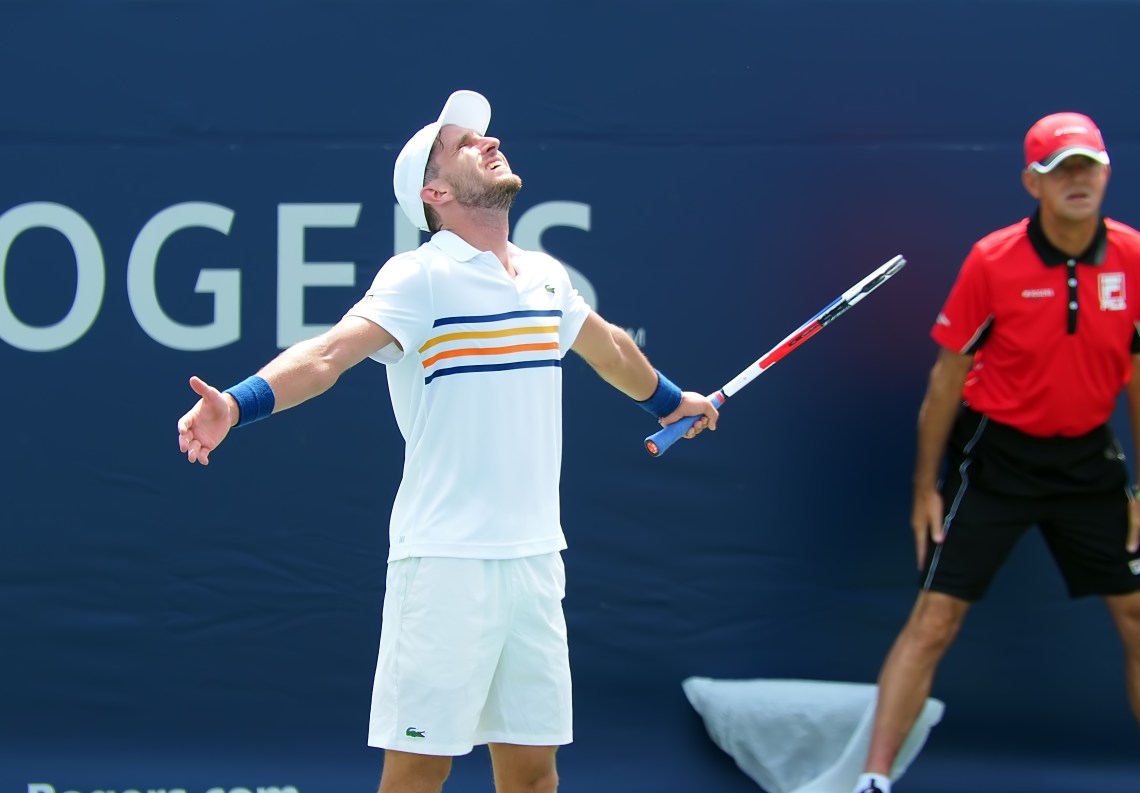
5. While it’s true that there are a small finite number of interesting and action filled tennis poses (typically the lunging return) before it becomes repetitious, keep in mind that it’s best to shoot many examples and then during the image processing phase you have the luxury of choosing the shots that put the player in his/her most attractive light. Since tennis players are not coached by ballroom dancers, they sometimes look less than graceful and wear gargoylesque expressions.
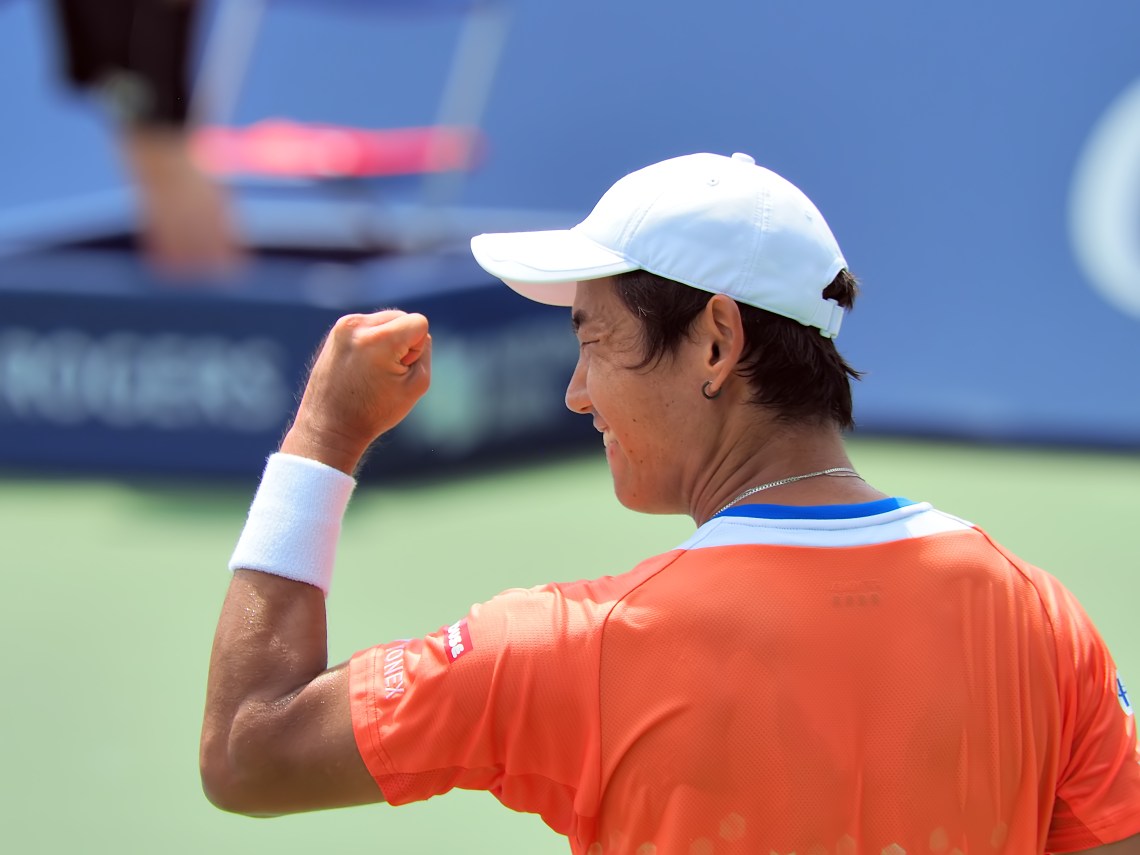
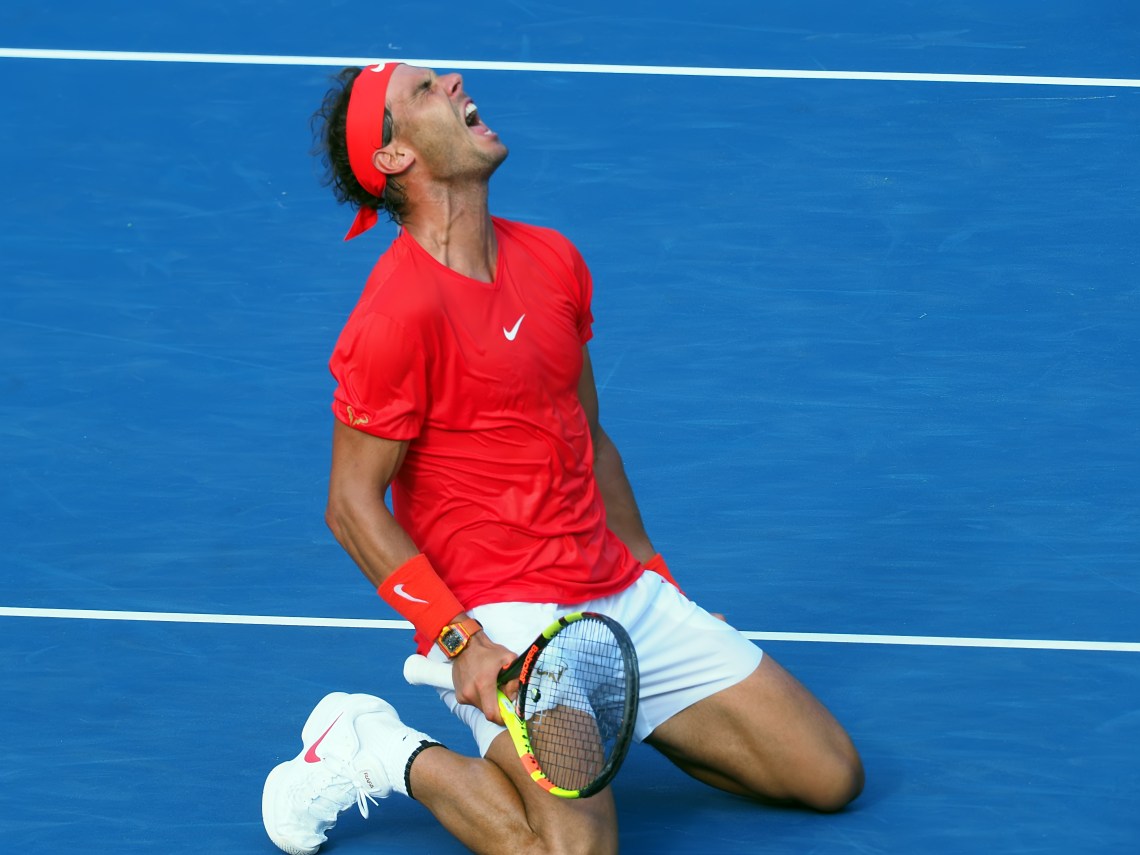
6. And finally, capturing the human spirit in the sport. Here the 300-800 might work but again the huge focal length might crop just the face and miss the rest of the body language. Here you have to understand the game of tennis to anticipate when the players might crack their icy facades, typically after a long drawn out deuce or tie breaker duel or fending off that game break.
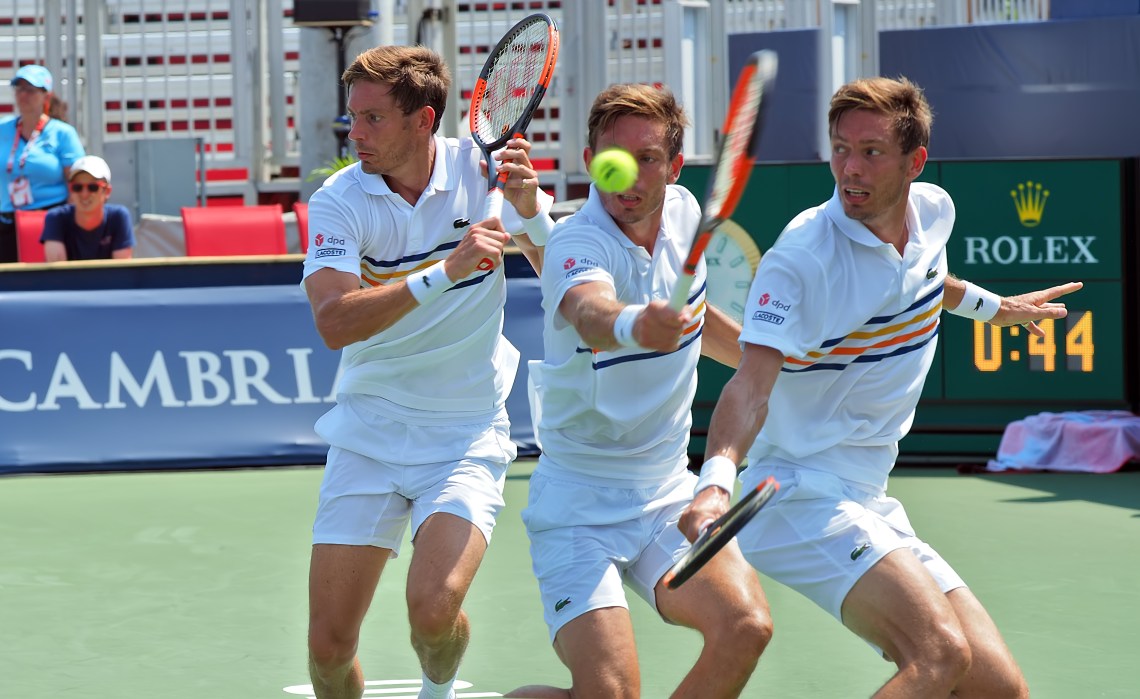
And as a final example of how to tell a story with your sports photos, sometimes you have to be innovative in your post processing.
In conclusion, wanted to relay a warning about shooting in intense heat and direct sunlight. Conditions were about 33 C and very humid with a cloudless sky and intense high summer sun. The black exterior of my E-M1.2 body got so hot that placing my nose against the viewscreen was uncomfortable. And shooting at continuous high frame rates at one point caused a seldom seen high internal temperature icon to appear. I shut the camera off for a few minutes and kept it in the shade and it became operable again.
Addendum:
I continued to pester Tennis Canada with emails and images to gain access to the final game and mysteriously I started to receive the daily media release emails again on the weekend. I took this as a positive sign and when I arrived to clear security on Sunday afternoon, my credentials worked!
I thought I was being clever by arriving just a half hour before game time via subway to avoid the nightmare postgame traffic jam. Being a novice, I didn’t realize that all the spots for the courtside photography positions would have been allotted in either a first come first served or lottery earlier in the day. So I was left shooting from the mezzanine level of the stadium which had the height advantage of being able to shoot both ends of the court from the same position but I had to use the Zuiko 300mm f/4 Pro with 1.4x TC for 420mm of focal length to get the tight body crop I wanted. Images were therefore not as crisp as I wanted them to be but I tried to shoot at f7/8 for optimum sharpness when the sun wasn’t clouded over.
If you enjoyed your time here, please press HOME in the upper right to see the entire list of photography related topics in this blog.
